Yoga Bolsters: Practical Guide
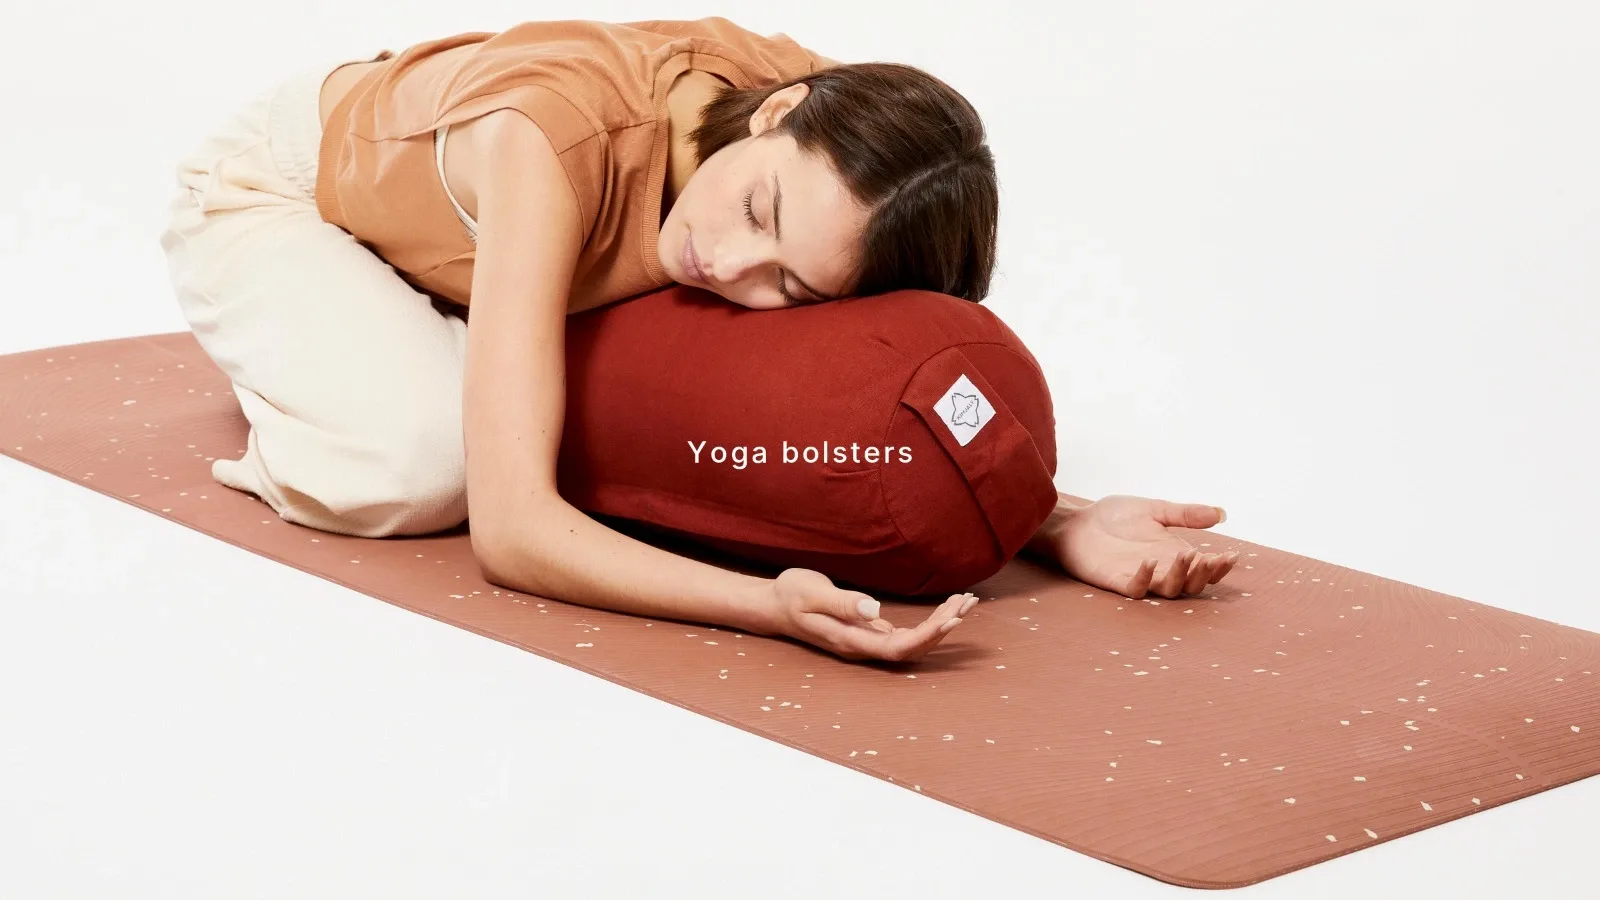
Yoga bolsters look like plain cushions, but they quietly do some of the hardest work in a practice. They hold your weight so your muscles can stop gripping, which is why slow, restful poses feel so different with one beneath you. This guide explains what to look for, which shape suits which pose, and how to use a bolster step by step.
Key Takeaways
- Shape matters: Rectangular bolsters feel steady, round ones curve the body, and lean ones are light and flexible.
- Firmness is key: A good bolster holds its shape under weight but still softens where your body rests.
- Pair it with other props: Blocks and folded blankets help you fine-tune height and comfort.
What Are Yoga Bolsters and Why Do They Matter?
Yoga bolster is a firm pillow used in yoga, relaxation, and meditation sessions. Contrary to normal pillows, it does not squish when used because of its denseness. It lifts the chest, cradles the knees, supports the hips, and makes folding possible onto a surface that remains firm even as you fold. Your nervous system senses being completely supported and realizes that it can release tension. Breathing is calmed and becomes deeper. Bolsters are thus very important in restorative and yin yoga practice, and are equally important during rest days from prolonged sitting.
Rectangular, Round or Lean: Which Shape Is Right for You?
Rectangular bolsters have a flat, broad surface that stays put. They suit beginners, seated poses, meditation lifts and forward folds, and they're the most versatile first purchase.
Round (cylindrical) bolsters create a curve. Lying back over one opens the chest and encourages a gentle arch, which is why they suit supported backbends and heart-opening poses. They also work well under the knees in final relaxation.
Lean bolsters are slimmer and lighter, with a flatter side and a rounded side. They're good for targeted support, such as under the ankles, wrists or one hip, and are easier to carry to class.
How to Choose the Right Size
Standard bolsters run around 60–80 cm long and 25–30 cm wide, though lean and travel versions are smaller. Consider these points:
- Your frame: Taller people may prefer a longer bolster so their spine is fully supported.
- Your height preference: A taller round bolster lifts you higher, while a flatter rectangular one feels more grounded.
- Storage and transport: Smaller bolsters fit in a car or a cupboard far more easily.
How to Use Yoga Bolsters in Common Poses
Set the bolster up before you move into the pose, and make small adjustments until you feel fully supported. If you feel pinching or strain, change the height or position.
1. Reclining Bound Angle Pose (Supta Baddha Konasana)
- Place the bolster lengthways behind you and sit with the end touching your tailbone.
- Bring the soles of your feet together and let your knees fall open.
- Lie back along the bolster and rest your arms out to the sides.
2. Child's Pose (Balasana)
- Kneel with your knees wide and place the bolster lengthways between them.
- Fold forward until your belly and chest rest on the bolster.
- Turn your head to one side and switch sides halfway through.
3. Legs-Up-the-Wall Pose (Viparita Karani)
- Place a bolster a few inches from a wall and sit sideways on one end.
- Swing your legs up the wall as you lie back so your hips rest on the bolster.
- Relax your arms and breathe slowly for five to ten minutes.
4. Corpse Pose (Savasana), Supported
- Lie on your back with a bolster under your knees.
- Let your legs and feet relax and your arms rest by your sides.
- Close your eyes and stay for five to ten minutes.
5. Seated Forward Fold (Paschimottanasana), Supported
- Sit with your legs extended and place the bolster across your thighs.
- Hinge forward from your hips and rest your chest and arms on the bolster.
- Let your head hang or turn it to the side, and breathe slowly.
6. Supported Bridge Pose (Setu Bandha Sarvangasana)
- Lie on your back with your knees bent and feet flat.
- Lift your hips and slide the bolster under your pelvis and lower back.
- Lower down onto it and rest with your arms by your sides.
Safety Tips
- Choose a firm surface and a stable position before putting your full weight down.
- Avoid pressure on the neck or lower back, and adjust height if you feel any.
- Be cautious with inversions such as Legs-Up-the-Wall if you have glaucoma, high blood pressure or any condition where lifting your legs may be unsuitable. Ask a doctor first.
- If you're pregnant, check with a qualified professional before using a bolster in a new pose.
How to Care for Your Bolster
Remove the cover and wash it according to the care label. Air-dry and avoid high heat. Spot-clean the inner filling with a damp cloth and let it dry fully. Store the bolster in a dry, ventilated place away from direct sunlight, and fluff or rotate it occasionally to keep the filling even.
Final Thoughts
A good bolster isn't about making yoga harder. It's about making rest easier and more effective. Choose a shape that suits the way you practise, check the filling and cover, and start with a few of the poses above. Over time, you'll likely find it's the prop you reach for most.
FAQs
1. What is a yoga bolster used for?
It supports your body so you can relax in a pose without effort. People use bolsters under the knees, spine, hips or chest, and for seated lifts in meditation.
2. Is a rectangular or round bolster better?
Neither is better overall. Rectangular bolsters are steadier and good for beginners, while round bolsters curve the body for supported backbends and chest opening.
3. How many bolsters do I need?
One is plenty for most home practices. Add a second if you want to try more complex supported setups, or pair your bolster with blocks and folded blankets.
4. What is the best filling for a yoga bolster?
Cotton and kapok are popular for their firm, natural support, while foam blends are lighter and easier to maintain.
Also Read: Yoga pants with pockets
By Umesh Kumar Khiri


Discussion (0)
No comments yet. Be the first to comment!
Leave a Comment
You need to login to post a comment.